


How to Shorten Shimano Brake Hoses without Bleeding
How to Shorten Shimano Brake Hoses without Bleeding
One of the first jobs on your list, after buying a new bike or set of brakes, might be to shorten the hydraulic hoses.
Excess brake hose is unsightly and can sometimes interfere with your pedal strokes. As the brake manufacturers would rather give you too much than too little, shortening brake hoses is a job you will no doubt have to do at some stage. Thankfully shortening your brake hoses is not a difficult job and with the help of this detailed guide we'll show you just how easy it is.
Important: Although we're trying to shorten hoses without bleeding the brake afterwards, it's still a good idea to have a Shimano bleed kit on standby, just in case you accidentally introduce air into the brake system or spill some brake fluid. Mistakes happen and it could mean your bike being off the road until you source a bleed kit. You've been warned.
Things you'll need
- A new compression olive and either a BH59 or BH90 hose insert. (Not sure which? Click here to find out.)
- Hammer
- Plastic tyre lever
- Vice and Shimano hose clamp OR a pair of pliers
- 8mm open-ended spanner
- Hydraulic hose cutter or sharp knife
- Sticky tape or marker
- 2mm, 3mm, 4mm, 5mm Allen wrenches
- Shimano Bleed Kit & Mineral Oil on standby
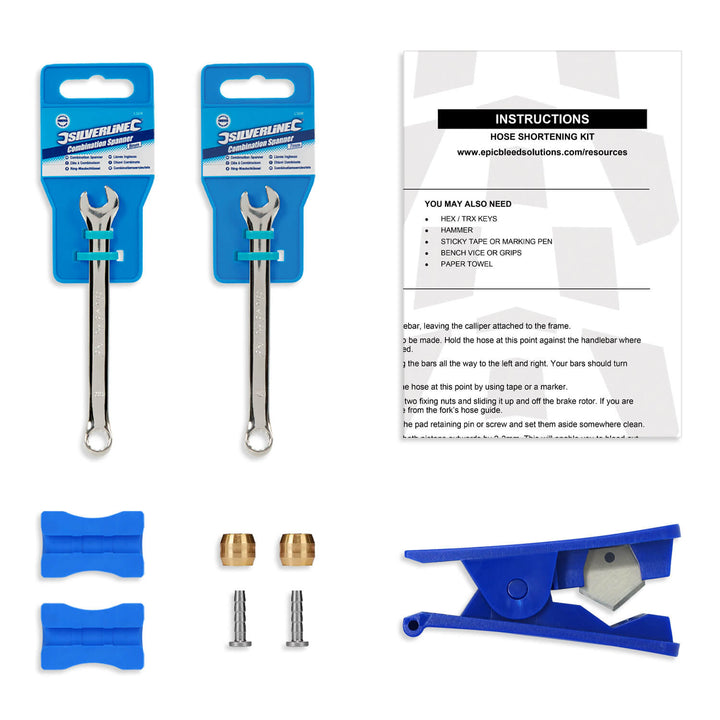
Our new Hose Shortening Kit for Shimano brakes - £14.99 - Epic Bleed Solutions
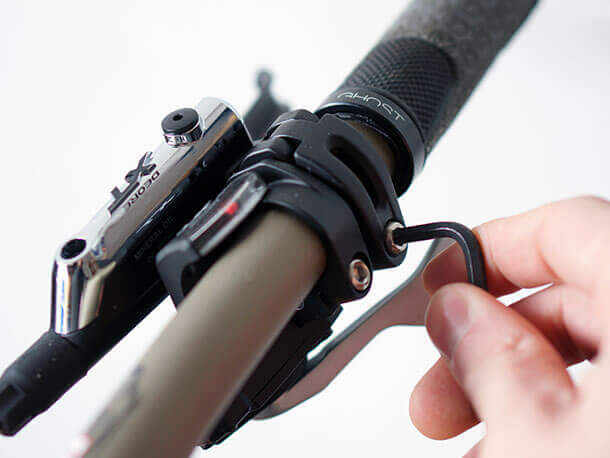
Step 1: Determine your ideal hose length
If you're shortening the hose on a new brake not yet fitted to your bike, start by loosely fitting the brake calliper to the frame or fork mount.
If your brake is already fitted, remove the lever assembly from the handlebar leaving the calliper attached to the frame.
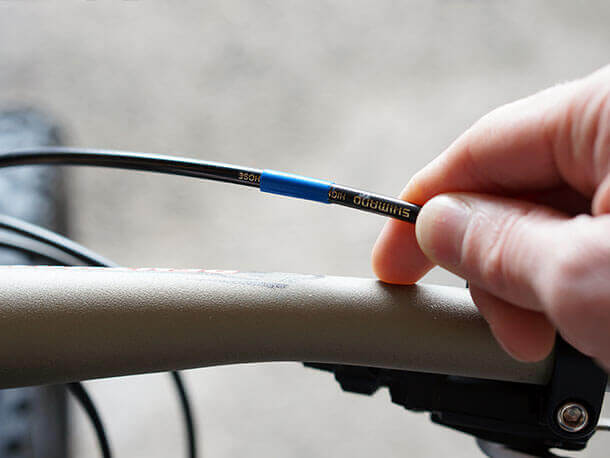
Route the hose along the frame and up to the handlebar, making sure not to take any tight bends or twist the hose as you go.
Find the point on the hose where you think the cut needs to be made. Hold the hose at this point against the handlebar where the brake lever will eventually be fixed.
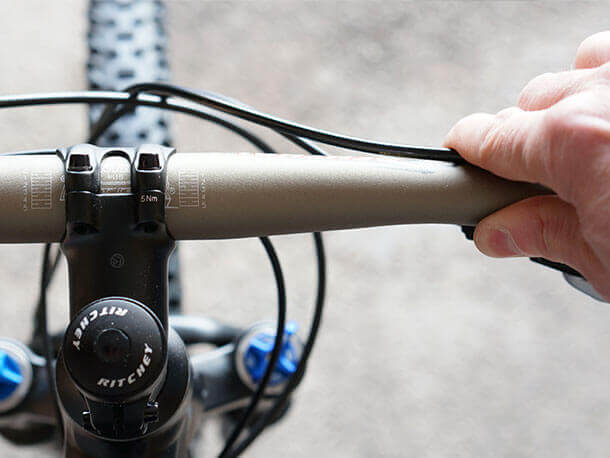
Now check that you will have enough length by turning the handlebar all the way to the left and then all the way to the right. Your bars should turn unrestricted by the hose length. If the hose feels too short adjust your grip on the hose and try again.
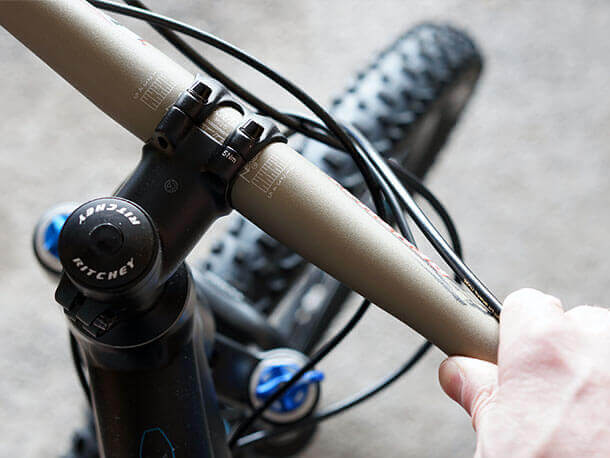
| Take into consideration frame contact (rubbing) and suspension movement. Hoses may need extra length to account for suspension travel. |
If you're happy with the hose length and handlebar movement etc. go ahead and mark the hose where you intend to make the cut. I'm marking mine by applying sticky tape to the section of hose I will be cutting off.
| Remember, measure twice, cut once. Cutting the hose too short will mean replacing the hose with a new one and bleeding your brake. |
Step 2
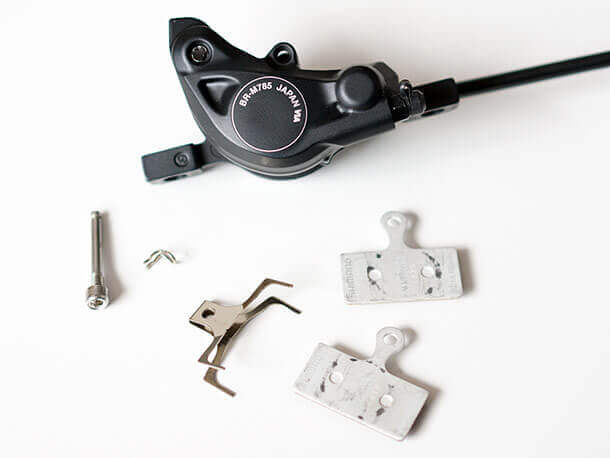
Remove the brake caliper from the frame or fork mount by removing the two calliper fixing bolts and sliding it up and off the brake rotor.

If you're working on the front brake you will need to unclamp the hose from the fork hose guide.

Step 3
Remove the brake pad retaining pin and the brake pads from the calliper. Set them aside.
Step 4
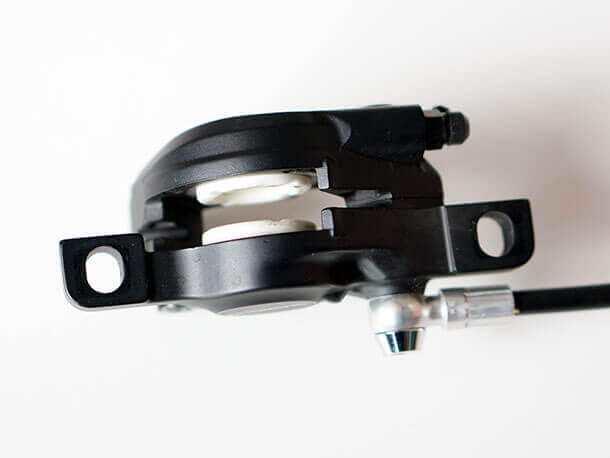
Carefully squeeze the brake lever just enough to advance both pistons outwards 2-3mm.
This will enable you to bleed out any air that may enter the system when the hose is cut by pushing back the pistons in a later step.
| Do not advance the pistons too far as they will fall out of the calliper body and the calliper will need to be rebuilt and the system fully bled. |
Step 5
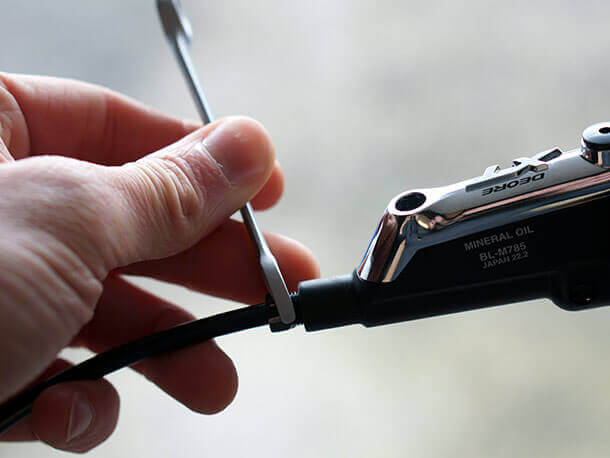
Pull back the rubber boot covering the hose fixing bolt at the lever assembly.
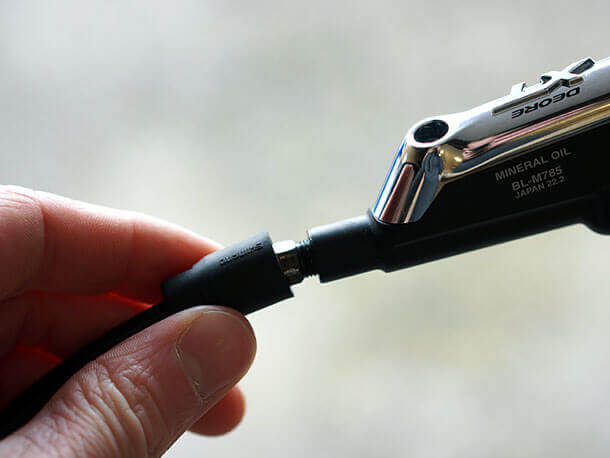
Using an 8mm open-ended spanner, start to loosen the fixing nut by turning anti-clockwise.
Once loose use your fingers to unthread the nut completely and allow it to slide back down the hose towards the calliper.
Step 6
Hold the lever and hose horizontally. Separate the hose from the lever assembly by pulling the hose from the lever assembly.
Now that the hose has been disconnected, remember to keep the hose pointing vertically up and keep the calliper lower than the tip to prevent brake fluid loss.
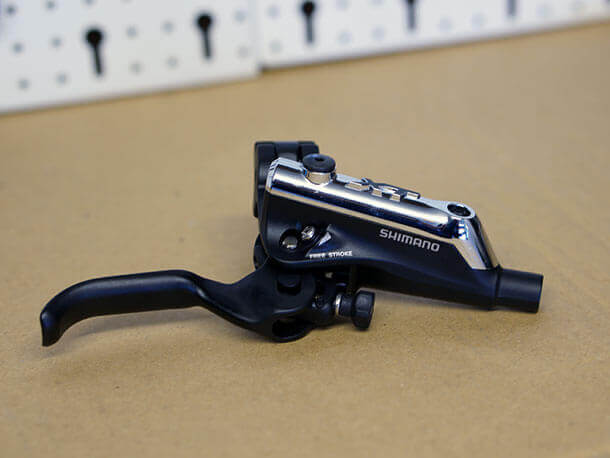
Set the lever assembly down on a flat surface.
| Do not operate the brake lever at this time or fluid will be lost from the master cylinder and a bleed of the system will be needed. |
Step 7: Cutting the hose
With the Shimano hose tool and vice
With the calliper lower than the end of the hose, clamp the hose roughly 5cm below where you intend to make the cut. This will allow you to insert the new olive and hose barb immediately after cutting the hose without adjusting its position in the hose clamp.
Now using your hydraulic hose cutter or sharp knife, cut the hose at the point you marked earlier.
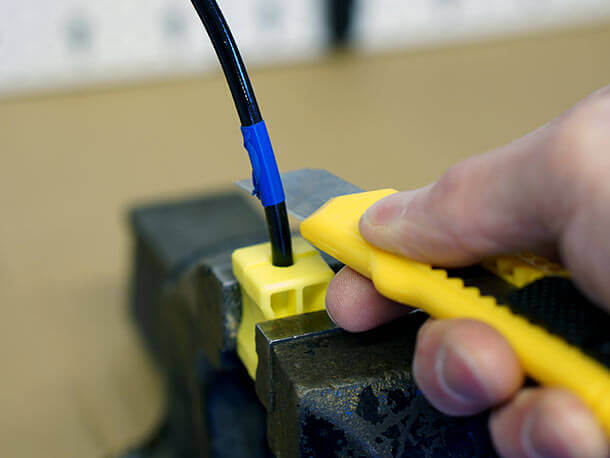
| A dedicated hydraulic hose cutter is the best tool for this job as it will cut the hose at 90 degrees and will not crush or deform the hose in the process. Using gear cable cutters is possible but will usually crush the hose as it cuts. A Stanley knife blade can also be used to obtain a clean cut. |
| If you do end up crushing the hose slightly, insert a 1.5mm Allen wrench into the end of the hose to open it up and make it nice and circular again. (Thanks to Paul Nesfield for this suggestion.) |
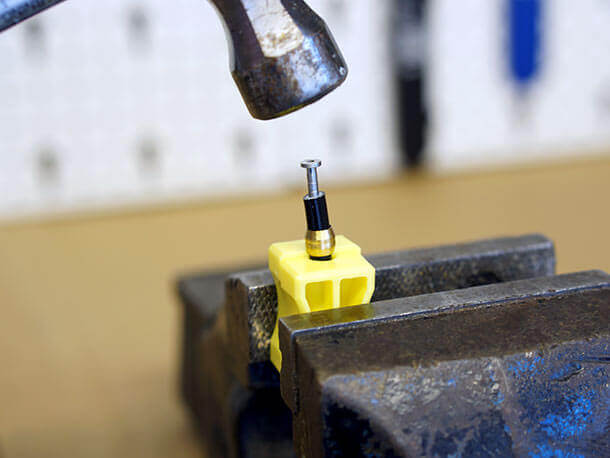
After the cut has been made, slide your new olive over the hose and insert your new hose barb into the end of the hose.
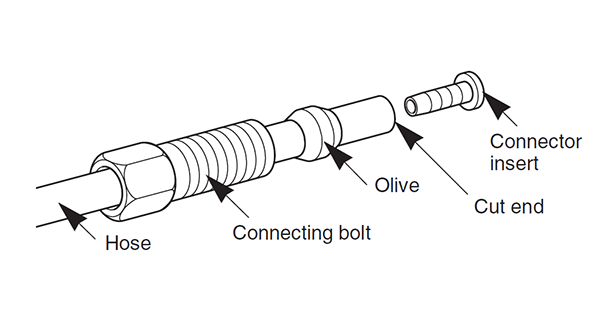
Gently tap the hose barb in with a small hammer until flush with the end of the hose.
Remove the hose from the vice and go to step 8.
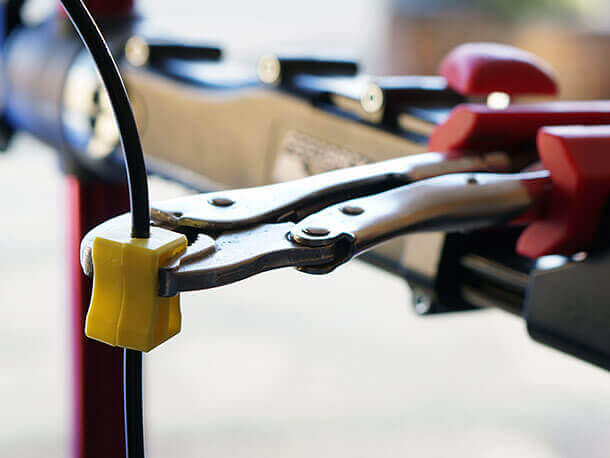
Quick tip: If you have the yellow Shimano hose tool but don't have access to a vice, an alternative method is to use a pair of mole grips to hold the Shimano hose tool together. You can even go one step further and mount them in your work stand leaving you with both hands to finish the job.
Without the Shimano hose tool or vice
If you do not have the Shimano hose clamp or a vice don't worry.
Make the cut using your hose cutter or sharp knife whilst holding the hose either horizontally or vertically. Keep the calliper lower than the tip of the hose to ensure no fluid is lost from the section of hose you intend to keep.
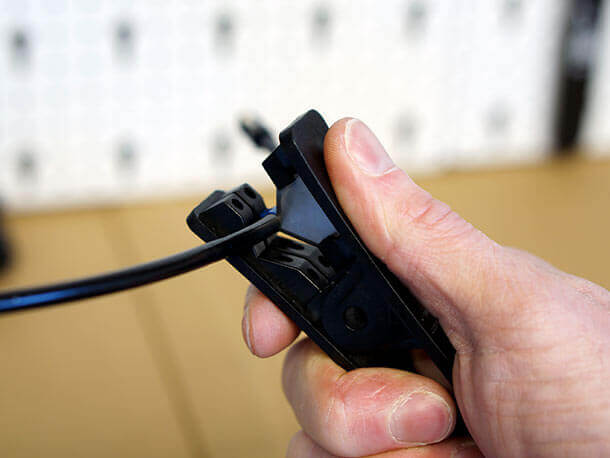
Slide the new olive over the hose, then take your new barb and insert the tip into the end of the hose using your fingers. A little force is needed to get it started but won't be a problem for most.
Next use your pliers to grip the end of the hose lightly, being careful not to crush the hose. Find a flat vertical surface to push against and push the hose onto the barb until it is flush with the end of the hose.

Step 8: Reconnect the hose and lever
Retrieve the hose fixing bolt and olive from further down the hose. Hold them in one hand together with the hose keeping the hose positioned horizontally.
Take the brake lever assembly in your other hand. Push the hose into the hose entry point on the lever. They should come together in the horizontal position. As they come together start to thread the hose fixing bolt into the lever assembly.
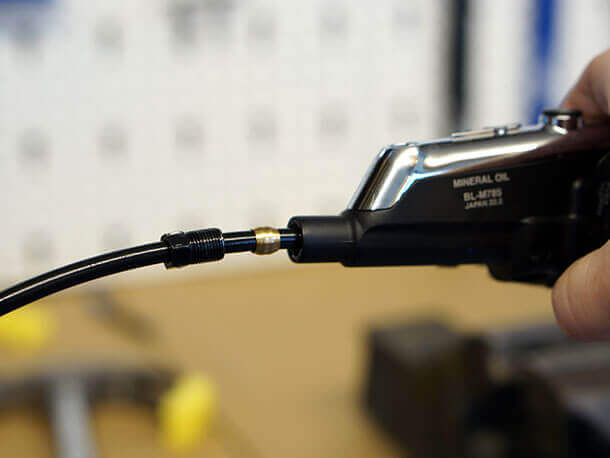
When it is finger tight take your 8mm open ended spanner and tighten the nut. Tightening torque: 5-7Nm (44-60in. lbs.)

| When tightening you will need to use enough force to ensure the olive is crushed and set against the hose. Under tightening will prevent this from happening and may cause the hose to become disconnected when the brake lever is operated. |
Replace the rubber boot covering the hose fixing bolt.
Step 9
Reset the calliper pistons by pushing them apart with your plastic tyre lever or similar tool. This will ensure that any air which may have entered the system will be pushed into the master cylinder.
| Do not use metal tyre levers or screwdrivers as they may damage the surface of the pistons. Plastic objects work best here. |

The calliper pistons should be pushed all the way back into their housings.

Step 10
Refit the brake pads and brake pad retaining pin.
Then refit the brake to the bike. Start by fitting the brake calliper to the frame or fork. Then route the hose along the frame and up to the handlebar. Be sure not to take any tight twists or bends as you go.
Step 11
Refit the wheel to the frame or fork. Operate the brake lever a few times to set the calliper pistons to the riding position. The first 2-3 pulls of the lever will be loose or spongy, then the brake lever should start to firm up.
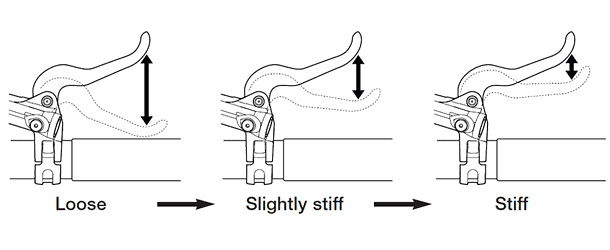
If the brake lever does not become firm after 4-5 pulls it means that there is excess air inside the brake system. In this case the Shimano bleed procedure will need to be carried out using your Shimano bleed kit.
That's it!
With or without the right tools you should now have perfectly sized hydraulic hoses. No more unsightly excess hose length and you've shaved 0.5 grams off the weight of your rig. Bonus! ;)
Have you followed this guide with success? Or maybe you've got a super top tip to make this job even easier? If so drop us a line using the comments section below.
Image credit: Shimano


