

How to Make a Bleed Block
How to Make a Bleed Block
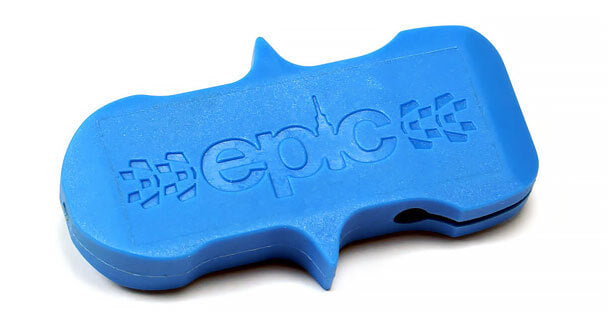
UPDATE: Save yourself the hassle. Our very own Bleed Block & Rotor Tool is now available for only £3.99.
Grab yours today.
What is a bleed block?
A bleed block, or piston spacer as it is sometimes known, is a plastic object designed to fit snugly between the pistons of your brake caliper, and its job is to prevent them from moving outwards during the bleed process. Today we're going to show you how you can make your own using the Epic Bleed Solutions' preferred method.
There are certain criteria a bleed block has to meet in order for it to work. It must:
- fit snugly between the pistons of your brake caliper;
- be made of a non-compressible material (wood, thick plastic);
- be a non-marring material - not metal, as this will cause damage to the surface of your pistons.
Why would the pistons move anyway?
During the bleed process it is necessary to operate the brake lever for the purpose of dislodging trapped air, or to flush brake fluid through the system. Any lever movement following brake pad removal will cause the pistons to advance, this is bad for two reasons:
- It can stop you from refitting the brake pads, wheel and brake rotor;
- It causes accidental over-filling of the system with brake fluid.
Can't I just leave the pads in?
By bleeding your brakes with the pads in place you're running the risk of contaminating them with brake fluid, especially if it's your first time, and this will render them useless. Also if your pads are partly worn you will overfill the brake system with fluid making it difficult to replace the pads when the time comes.
Convinced yet?
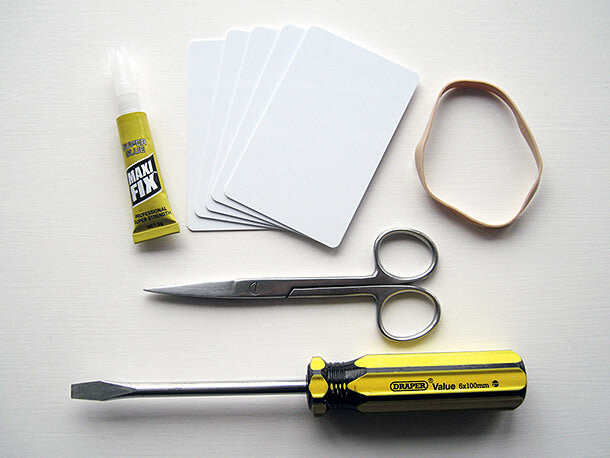
Things you'll need
- 3-5 old credit/store cards,
- Superglue,
- Scissors,
- Elastic band,
- Pad separator or flat blade screwdriver.
Step 1
Start by removing the front or rear wheel to access your brake caliper. For the purpose of this guide our brake is not attached to a bike but the steps in this guide will be the same.
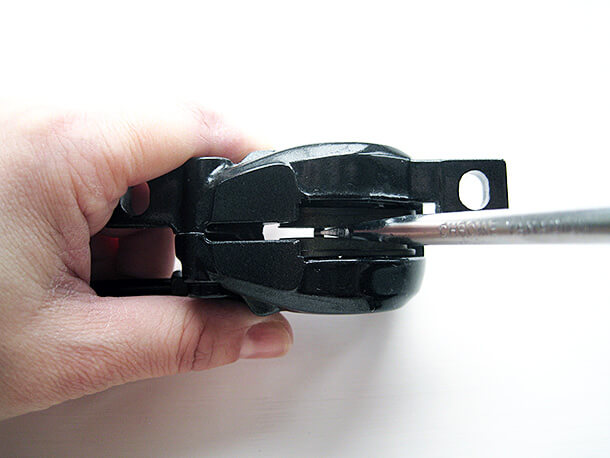
Step 2
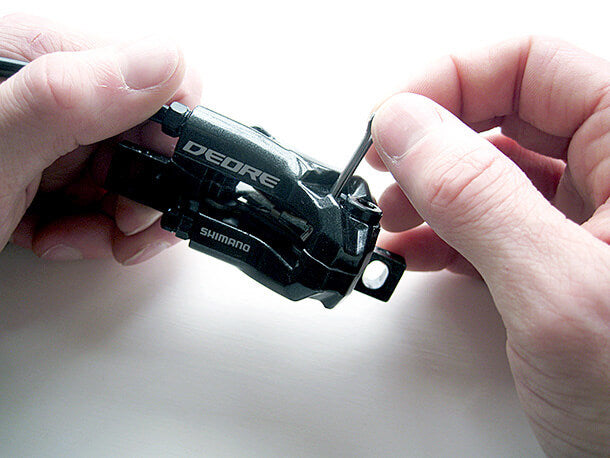
With the brake pads in place, use a pad separator or a flat blade screwdriver between the pads and twist to separate them. This will push back the pistons to where we need them to be. Be careful not to damage the surface of your brake pads.
Step 3
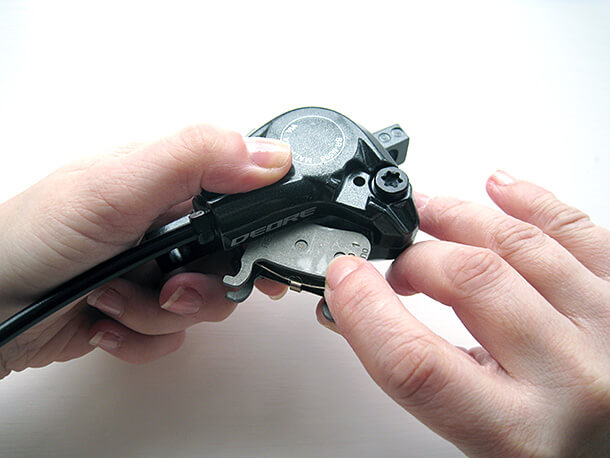
Remove the brake pad retaining pin and then remove the pads from the caliper. Set them aside somewhere safe.
Step 4
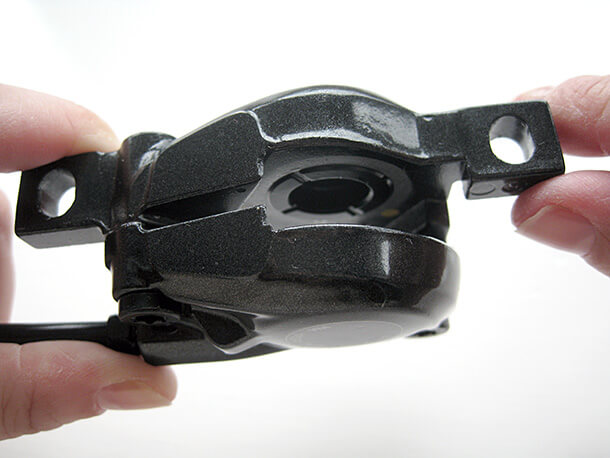
Once the pads are out make sure that the pistons are pushed as far back as they will go. The face of the piston should be flush with the inside of the caliper.
| If your pistons will not push all the way back it may mean that the system has previously been overfilled with brake fluid. |
| If you suspect you may have too much fluid in your brake, with your bike the correct way up, remove the master cylinder bleed port screw or reservoir cap. Push the pistons back now. Get ready to catch any brake fluid with a paper towel and then re-tighten the bleed port screw or refit the reservoir cap. This will remove any excess fluid from the brake system. |
Step 5
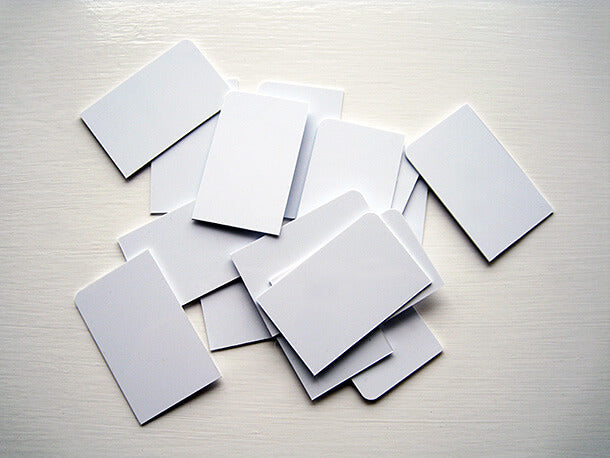
Start by cutting 3-4 cards into quarters. You should end up with something like this:

Step 6
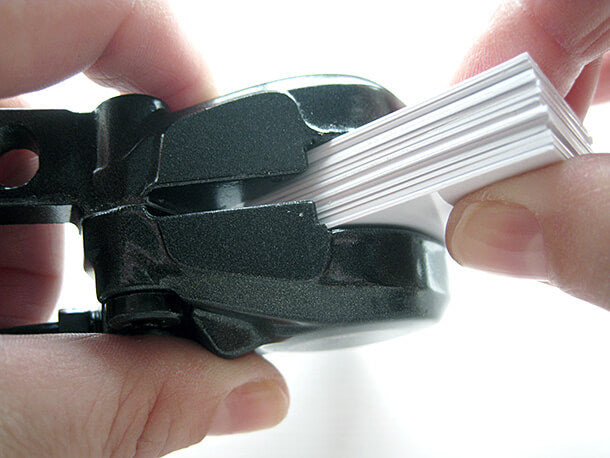
Now stack small pieces together and try them between the pistons of your brake caliper. Add or take away pieces until you find the correct amount of cards you need to make it a snug fit.

| Super glue is a strong adhesive and it bonds quickly. Take care that it does not come into contact with your skin, eyes, clothes or work surfaces and ALWAYS keep out of reach of children. Read more on removing super glue. |
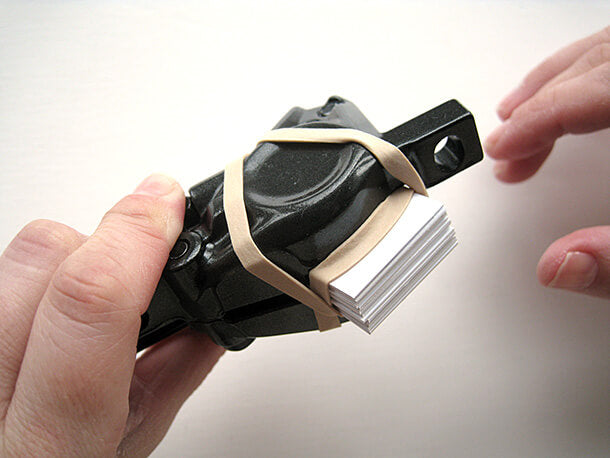
Step 8
Now you're ready to bleed your brakes. Use the rubber band to secure the bleed block in place during the bleed procedure.

Now it's your turn!
Have you tried this technique with success? Maybe you use something else as a bleed bock? Post your comment below.


