
How to Bleed Quad Disc Brakes
How to Bleed Quad Disc Brakes
Here we're going to show you how to bleed Quad hydraulic disc brakes. Ever since the Quad Technology website disappeared there has been a shortage of online guides on bleeding Quad brakes. Well we're out to change all that. Combined with our Quad brake bleed kit this guide will have your brakes feeling brand new in no time.
We're using our Quad QHD-7 Nano disc brake for illustrative purposes but the steps in the guide will suit all Quad disc brakes including QHD-1 Sting, QHD-3 Duece, QHD-4 Axis, QHD-5 Dime, QHD-6 Tork and QHD-7 Nano models.
So, let's get on with it..
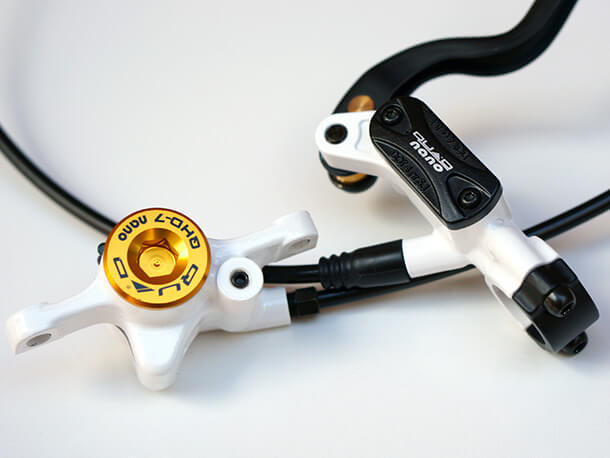
| It is important not to allow brake fluid to come into contact with the brake pads or brake rotor. Brake fluid will ruin your brake pads. Brake rotors will need to be cleaned thoroughly with isopropyl alcohol to remove contaminates. Cover all important parts with paper towel or a clean cloth and catch any brake fluid drips when installing/removing syringes and bleed port screws. |
Things you'll need
- Quad Bleed Kit
- 2.5mm, 4mm & 5mm Allen key
- 8mm Ring spanner (for models equipped with calliper bleed nipple)
- Bleed block or pad spacer
- Flat blade screwdriver
- Paper towel or lint free rag & clean water
- Safety glasses (Recommended)

Prepare your bleed kit
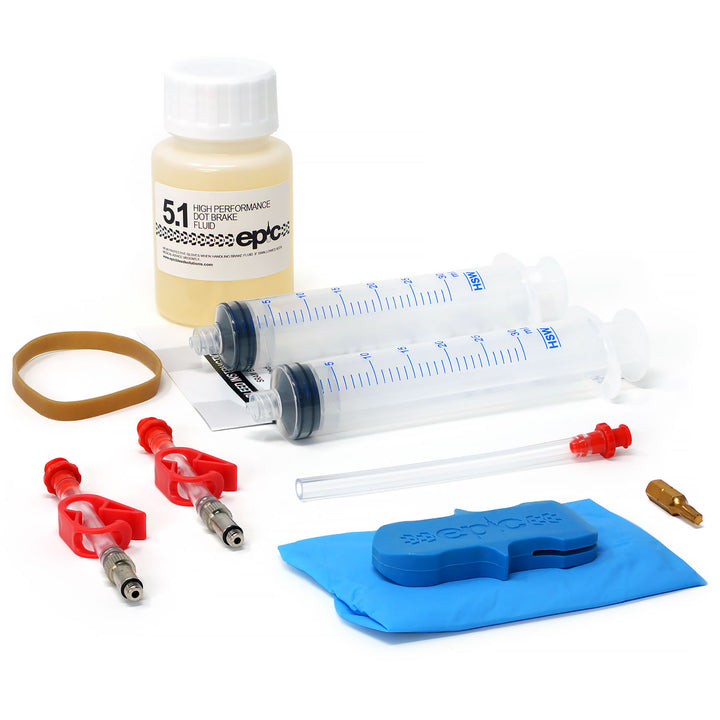
Depending on which Quad brake model you have will depend on which of our bleed adaptors you will need.
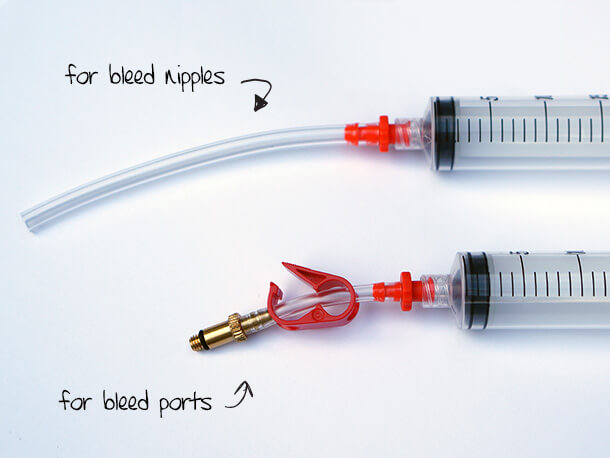
For models equipped with a bleed port grub screw such as our Quad Nano 7 model (pictured) and Quad Axis brakes, you will need to use the threaded adaptor. For models equipped with a calliper bleed nipple (Quad Duece, Quad Sting Pro, Quad Dime Pro, Quad Dime XC, Quad Nano Lite) you will need to use the injection tubing.
Step 1
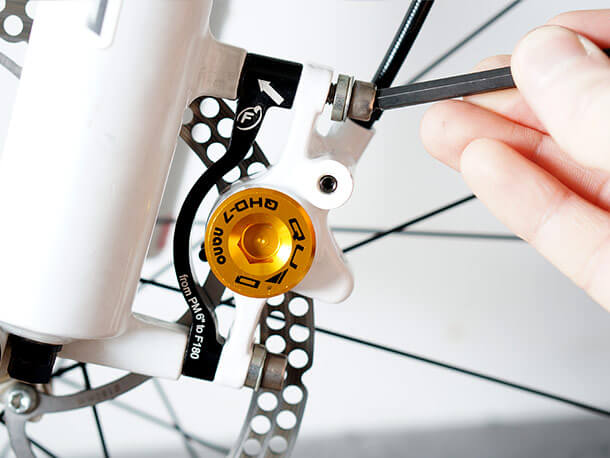
Start by removing the two fixing bolts which attach the brake calliper to the frame mount using your 5mm Allen key. Place them somewhere safe.
Step 2
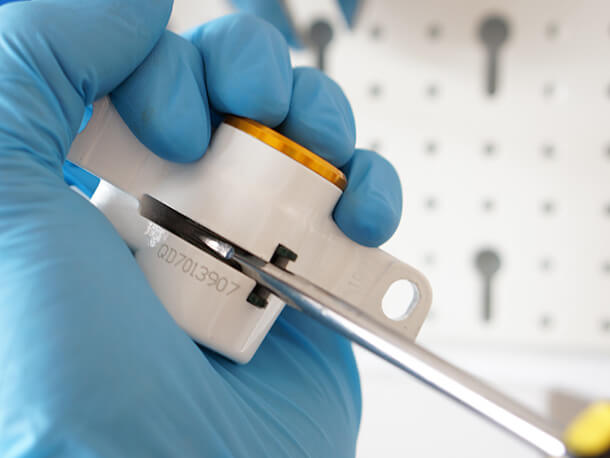
Then you'll need to reset the position of the calliper pistons by inserting your flat head screwdriver between the pads to force them apart. Use a twisting action to separate the pads as this won't damage the surface of your pads. The pistons should be as far back as possible.
| Failure to fully reset the pistons prior to bleeding will cause overfilling of the brake system making pad replacement difficult in the future. |
| If the pistons will not move back it may indicate that the system has been previously overfilled with brake fluid. If so remove the master cylinder (lever) bleed port screw and try again to push back the pistons. This will expel any excess brake fluid within the brake system. Be sure to catch any brake fluid with a paper towel. |
Step 3
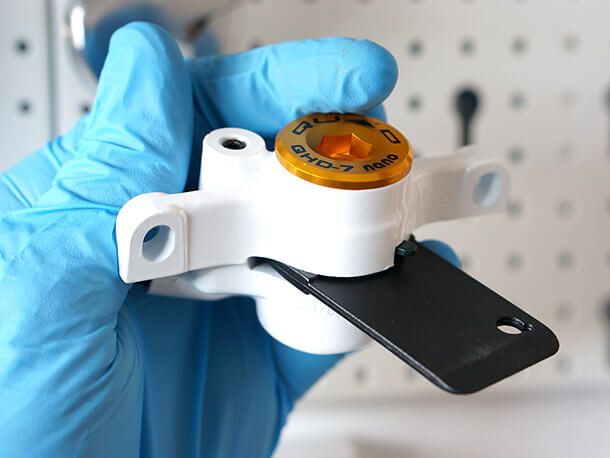
Next insert the thick end of the plastic spacer (supplied with your brakes or new bike) between the brake pads. It is important that the brake pads are pushed fully back into the piston housings before you start to bleed the brake. If you do not have the correct plastic spacer use a similar sized wedge or use our bleed block/pad spacer guide to make one.
Step 4
For models equipped with a calliper bleed port screw take the syringe with the threaded bleed adaptor. For models equipped with a calliper bleed nipple use the injection tubing instead.
Step 5
3/4 fill the calliper syringe with brake fluid from the bottle by immersing the tip and pulling back on the syringe plunger.

Step 6
Invert the syringe so that the bleed adaptor or tubing is facing directly up. Cover the tip with a paper towel and remove all air from the syringe by carefully pushing on the syringe plunger.
Step 7
Next close the tube clamp, pull back on the syringe plunger and hold for 10-15 seconds. You will start to see tiny air bubbles escape from the brake fluid and rise upwards. Release the plunger, open the clamp and carefully expel the air. Repeat this process 4-5 times to degas the brake fluid.

Step 8
For models equipped with a bleed port screw - ensure that the bleed port is facing directly upwards and remove the screw using a 2.5mm Allen key. Place the screw somewhere safe.

Thread the bleed adaptor with syringe into the bleed port until finger tight. Do not use tools as this will cause over-tightening.
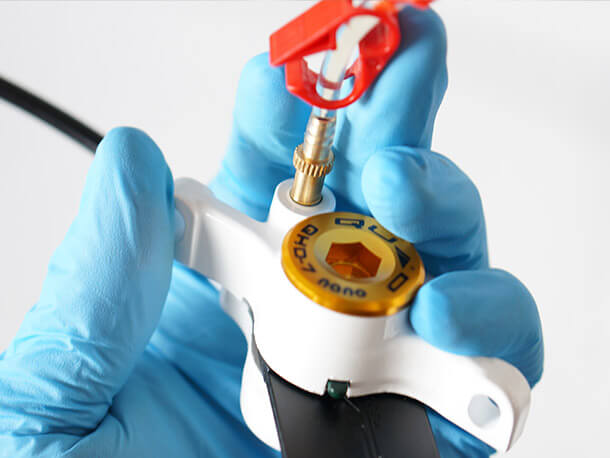
For models equipped with a calliper bleed nipple - remove the rubber nipple cover and push the tip of the injection tubing over the bleed nipple creating a seal.
| You may need to fully remove the rubber cap assembly from the bleed nipple to allow you to fully push the tubing over the bleed nipple. |

Step 9
Set the master cylinder (brake lever) to a horizontal position or parallel to the ground by loosening the two handlebar fixing bolts. Then temporarily tighten them to fix in position.
Step 10
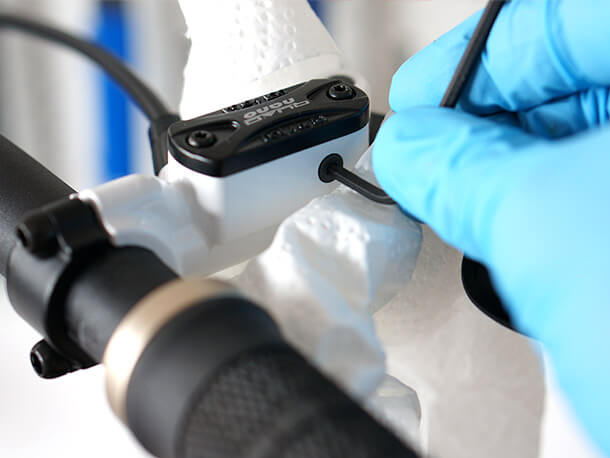
Remove the master cylinder bleed port screw using a T10 torx screwdriver. Set the screw in a safe location.
Step 11
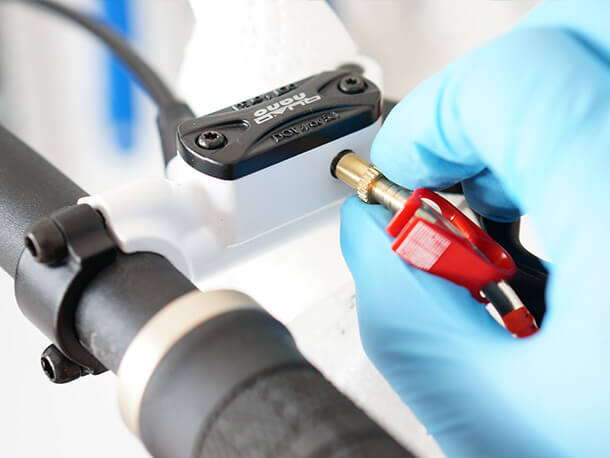
Take the second, empty syringe with bleed adaptor and thread it into the master cylinder bleed port. Again tighten only finger tight and do not use tools to assist. Make sure that the tube clamp is set to the open position.
Step 12
For models equipped with a calliper bleed nipple - open the bleed nipple bolt 1/4 turn using your 8mm ring spanner.
Now, keeping the calliper at the lowest possible position relative to the master cylinder begin to inject brake fluid using the calliper syringe.
Step 13
Whilst injecting you will see old fluid and any air from the brake system enter the lever syringe.
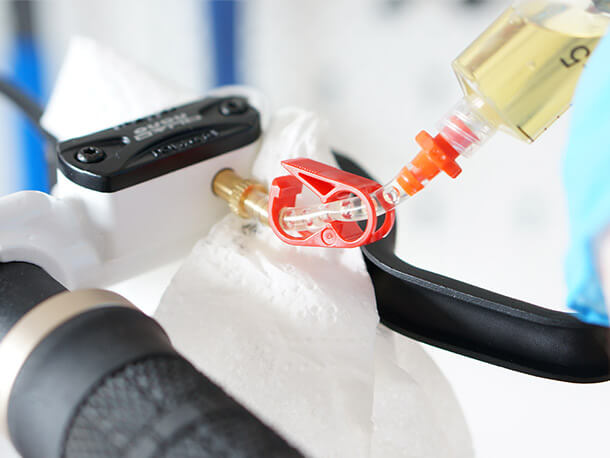
Inject nearly all of the fluid from the calliper syringe, leaving 3-5ml of fluid in the syringe at all times. This will ensure you do not inject any air which may be present in the calliper syringe back into the system.
| If the fluid entering the lever syringe is particularly discoloured this indicates that the fluid is very old. If so, we recommend flushing the system twice to replace all of the old fluid with new. |
Step 14
When the lever syringe is half full, keep the syringe in the upright position and push down on the lever syringe plunger to push fluid back to the calliper syringe. Again making sure to leave 3-5ml of brake fluid in the syringe at all times to prevent introducing air back into the system.
Repeat this process of cycling the brake fluid back and forth between the lever and calliper syringes until air bubbles stop appearing at both ends.
Step 15
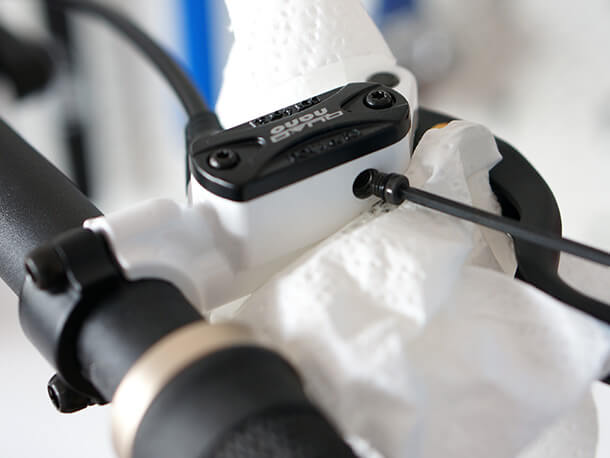
When the fluid runs clear and there are no more air bubbles entering the lever syringe, tighten the calliper bleed nipple bolt using the ring spanner (calliper bleed nipple models only) and remove the lever syringe. Reinstall the master cylinder bleed port screw and tighten to 1nm torque.
Step 16
Remove the calliper syringe from the bleed nipple or calliper bleed port and reinstall the bleed port screw (4-4.5nm torque) or rubber bleed nipple cover.
Wash any excess brake fluid drops from the calliper and master cylinder with a wet cloth.

Step 17
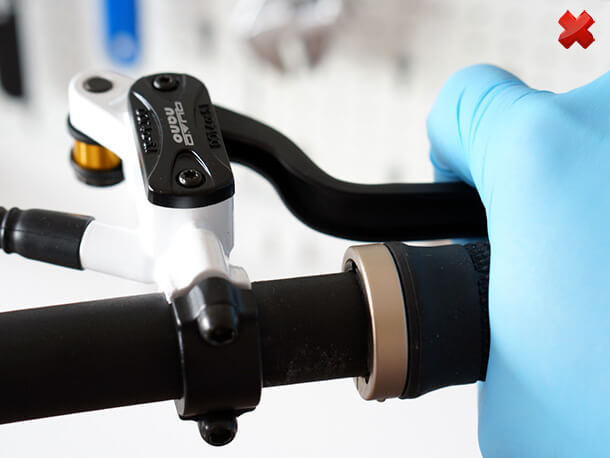
With the pad spacer still in position pump the brake lever until it feels firm. If the brake lever does not feel firm or the lever pulls back too far, repeat the bleeding procedure as above to remove any remaining air from within the brake system.
Step 18
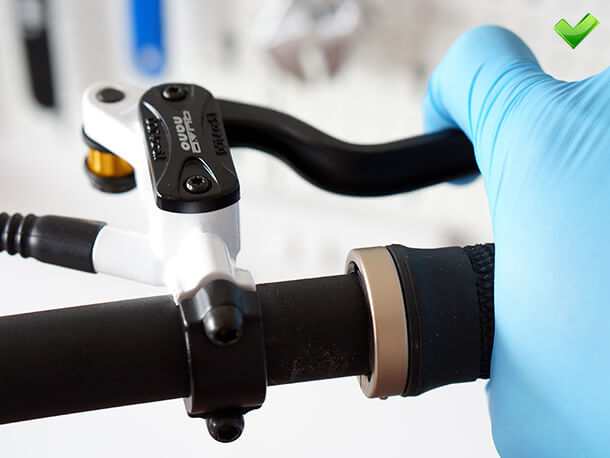
Remove the pad spacer from between the brake pads and slide the calliper over the brake rotor and loosely screw in the two calliper fixing bolts allowing the calliper to move slightly.

Step 19
Pump the lever until the pads clamp the rotor. Whilst maintaining pressure on the lever, tighten the two calliper fixing bolts tightly to the mounting bracket. This should centralise the pads over the brake rotor.
Step 20
Spin the wheel at this point to detect if the pads contact the rotor at any point. If there is slight pad contact you should tweak the position of the calliper until the rotor spins freely between the pads.


