
Caring For Your Epic Bleed Kit
Caring For Your Epic Bleed Kit
We all want the things we buy to last as long as possible and our customers often ask about the expected lifespan of our bleed kits. Below we'll outline the post-bleed steps you should take to prolong the life of your bleed kit.
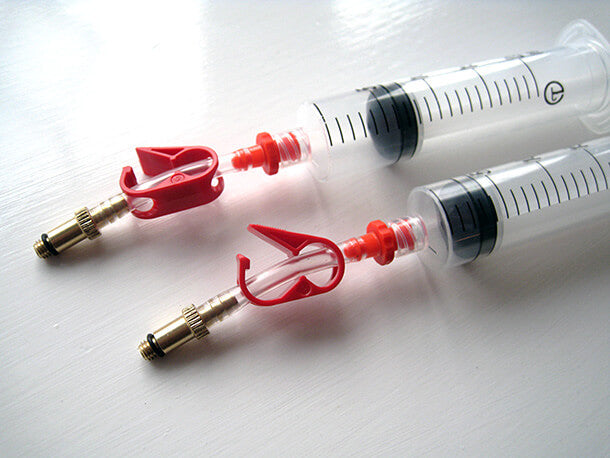
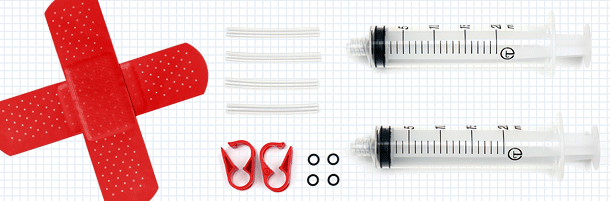
Things You'll Need
- Water in a bowl
- Paper towels
- Rubber gloves
- Eye protection is recommended
| Where possible always carry out the following guide outside or in a garage. The smallest amount of brake fluid on kitchen surfaces, for example, will cause permanent damage. |
Let's Get Cracking
So you've finished bleeding your brakes and you've now got two syringes containing a varying amount of brake fluid like the ones we have here:
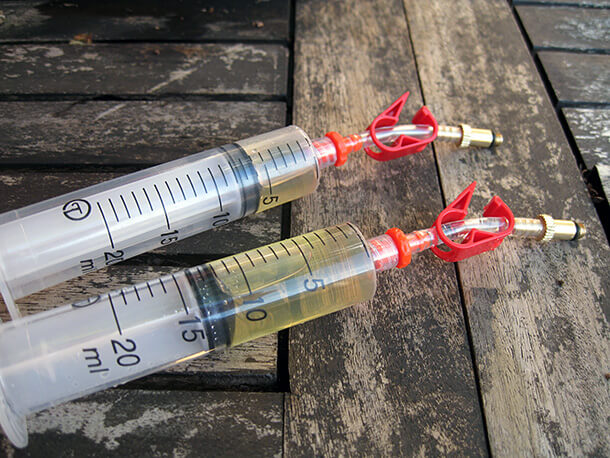
Step 1
First of all you'll need to empty your syringes of that waste brake fluid. Brake fluid is nasty stuff, DOT fluid is especially corrosive and will eat away at most surfaces that it contacts so remove it from the syringes as soon as possible.

| Always dispose of waste brake fluid in a responsible manner by taking it to your local waste disposal or recycling centre. |
| Keep a plastic bottle somewhere safe out of the reach of young ones and add to it each time you bleed your brakes. When the bottle is full you can then worry about making the trip to the disposal centre. |
Step 2
Fill a bowl with water. With the bleed adaptor (or end of the syringe) under water, pull back on the plunger to fill the syringe. Then, with the bleed adaptor still under water push on the plunger to empty the syringe. Repeat 3-5 times. This will flush out most of the brake fluid from inside the syringe. Repeat for the other syringe.

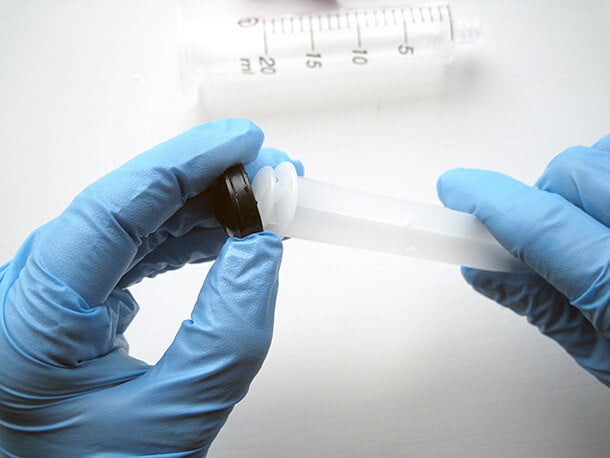
Step 3
Disconnect the hose assembly from the syringe by twisting and carefully remove the o-ring from the bleed adaptor. Remove the plunger from the syringe by simply pulling the two parts apart, and then remove the rubber cap from the plunger.


Step 4
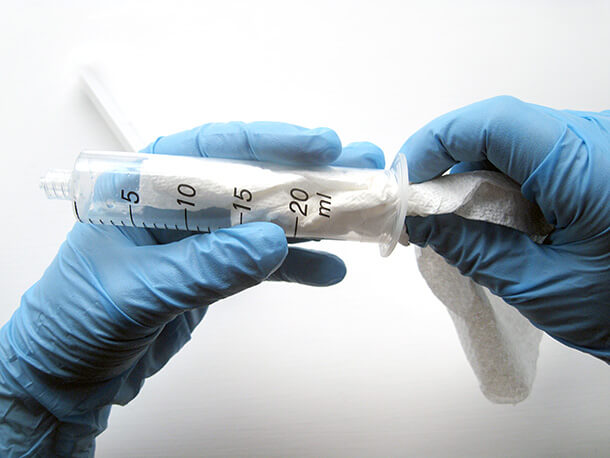
Using clean running water, take a paper towel or clean wet cloth and wipe the outer surfaces of the syringe and hose assembly. Clean the o-ring in a bowl of water. Repeat for other syringe assembly.
Step 5
Using a dry paper towel wipe each of the parts separately and lay them on a piece of paper towel. Allow the parts to stand to enable them to dry completely.
Step 6
When everything is dry start to rebuild your bleed kit. Reattach the rubber caps and push the plungers back into the syringe bodies. Reattach the tubing assembly and don't forget the o-ring.
| Your bleed kit must be absolutely dry before its next use. If water is introduced into your brake it will reduce the performance of the brake fluid and eventually cause premature wear of your brake's internal components. |
Step 7
Test the syringes by moving the plungers in and out - they should move freely without too much force. If they feel tight and it takes a lot of force to move them, before the next bleed remove the plungers and lubricate the rubber caps with a small amount of brake fluid before you start.